


Strength Training Workout Plan: Build Strength and Power
Building true strength isn't a matter of guesswork or random effort—it requires a plan as strong as your ambition. Too often, lifters jump from program to program or hit the gym without clear direction, only to find themselves spinning their wheels or stuck at frustrating plateaus. The difference between simply working out and making measurable progress comes down to one thing: a structured, well-designed strength training workout plan.
At the core of every successful program are two key principles: progressive overload (steadily increasing the challenge) and periodization (intelligently varying intensity and volume over time). These concepts form the backbone of sustainable strength and power gains, whether you’re just starting out or pushing for new personal bests.
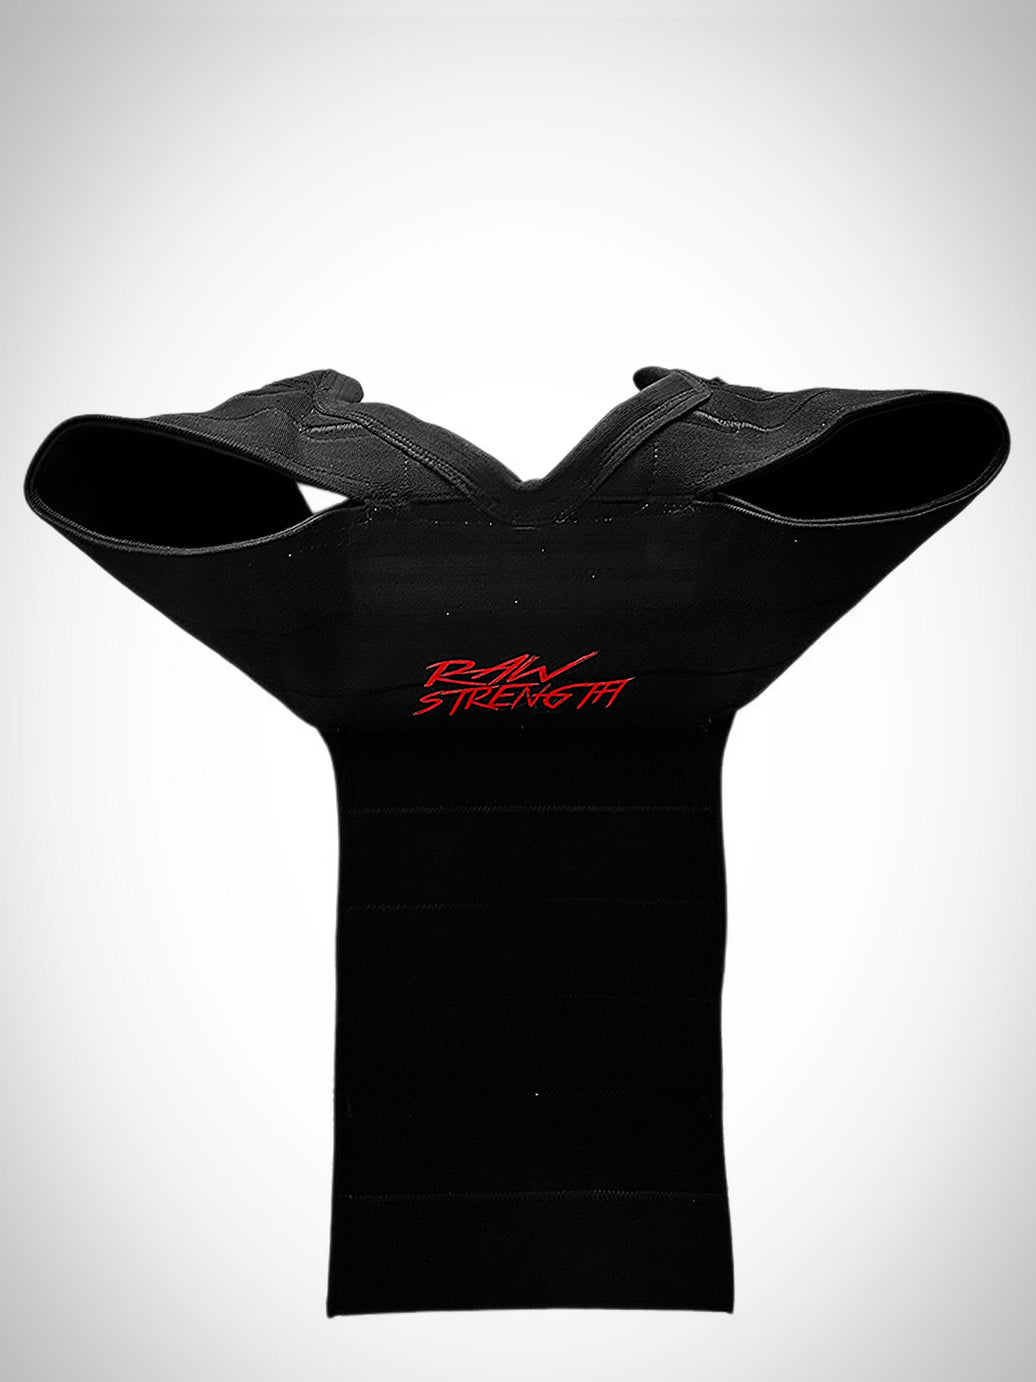
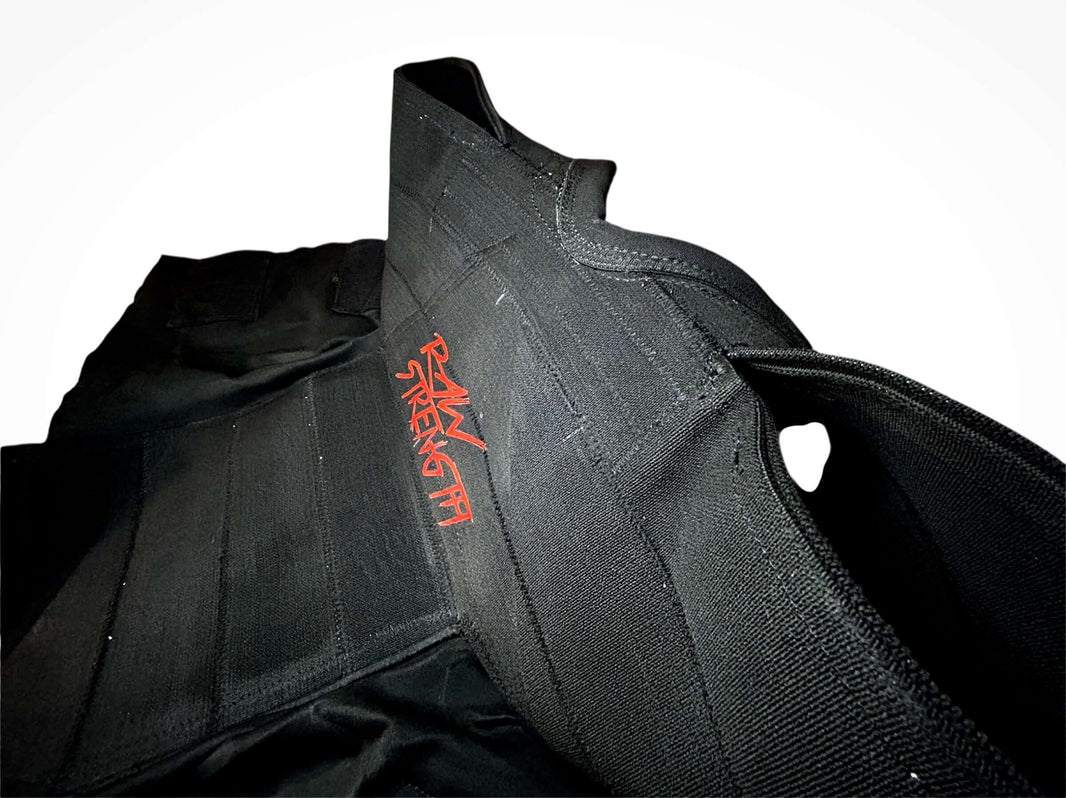
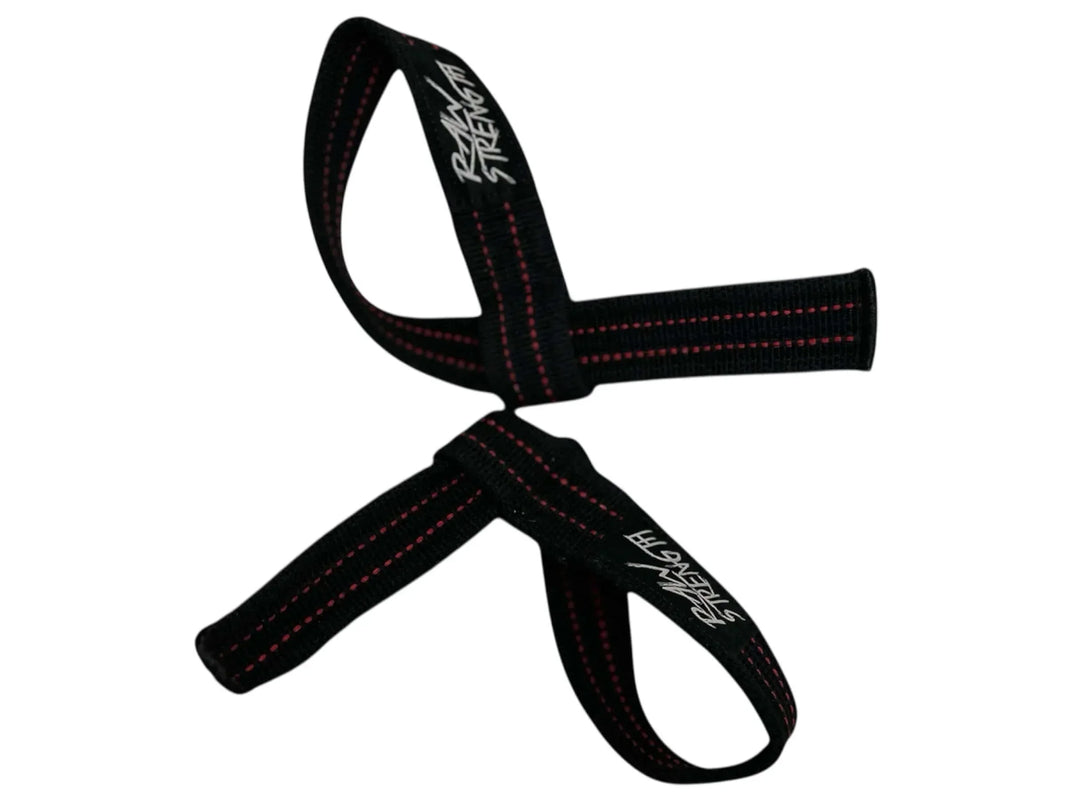
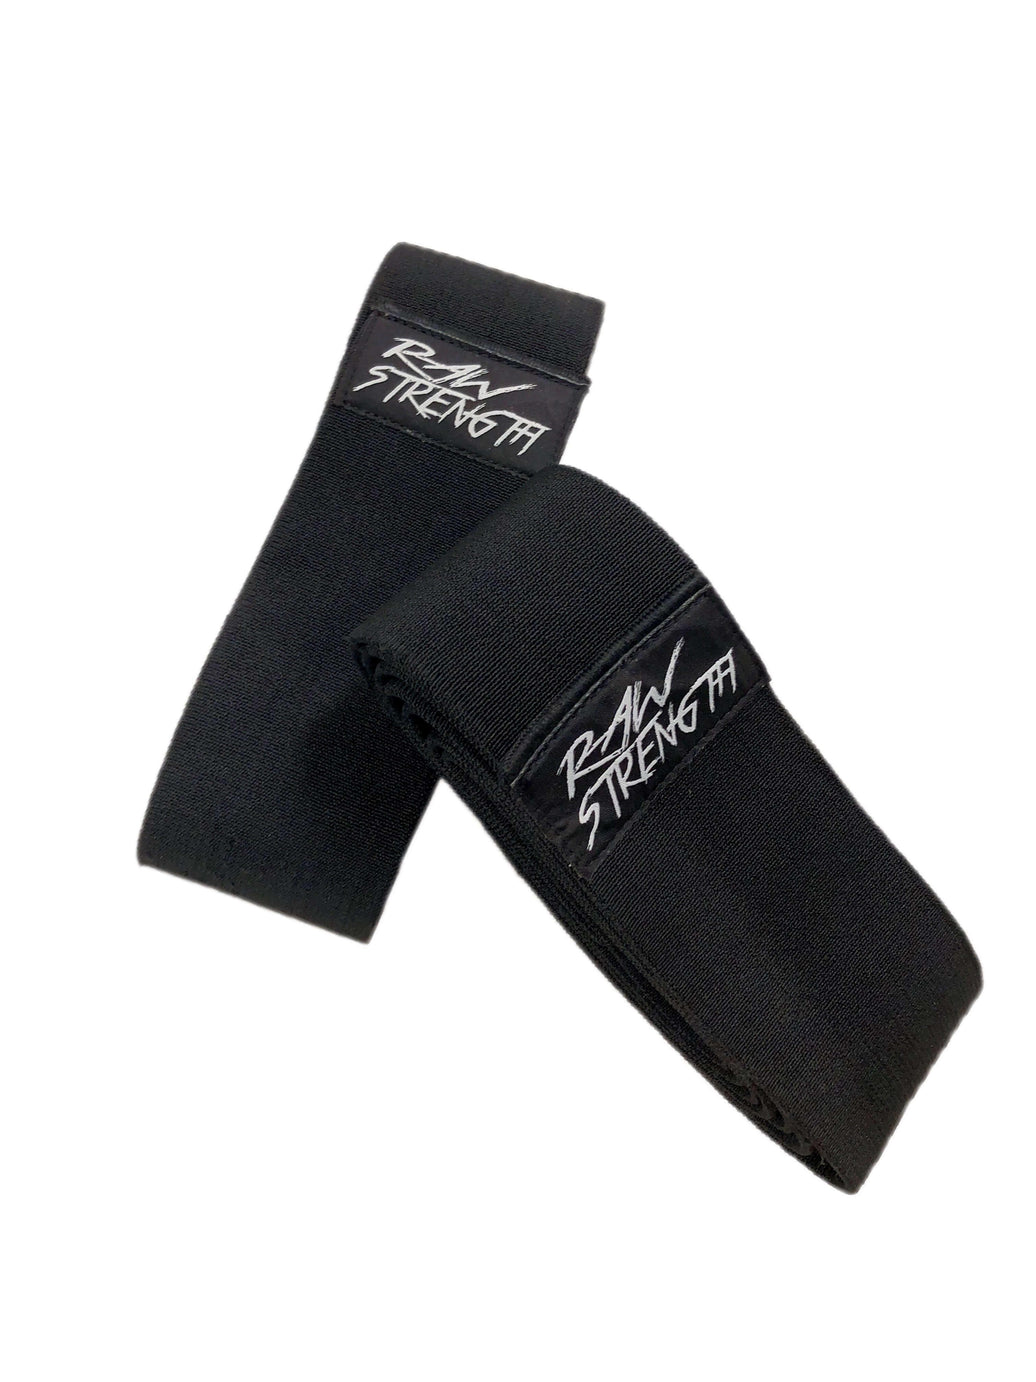
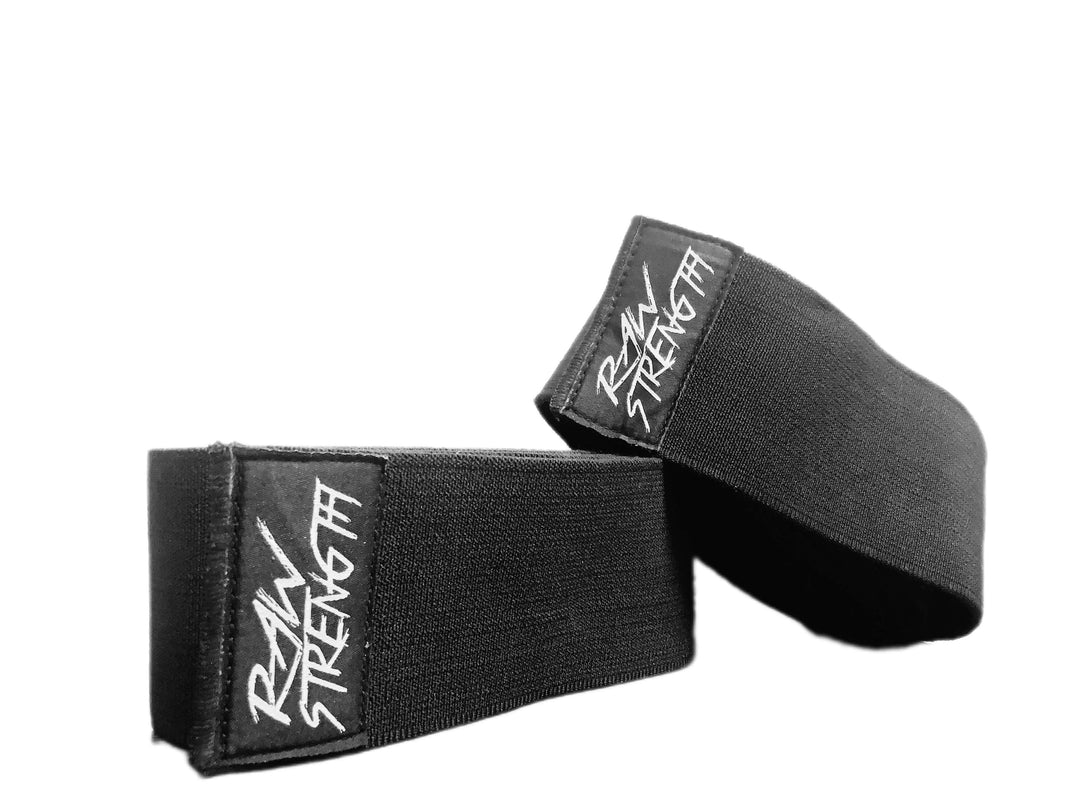
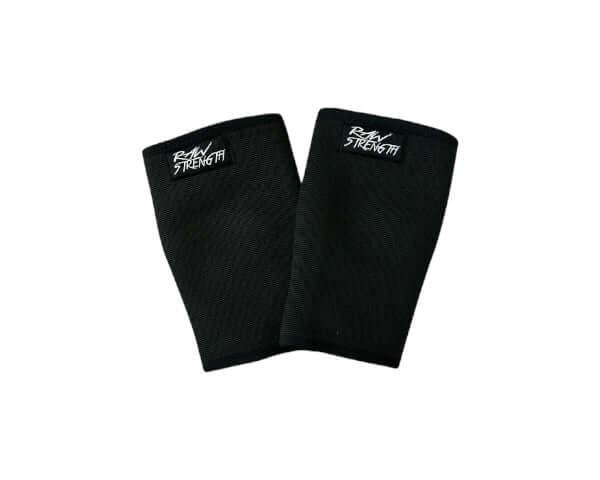
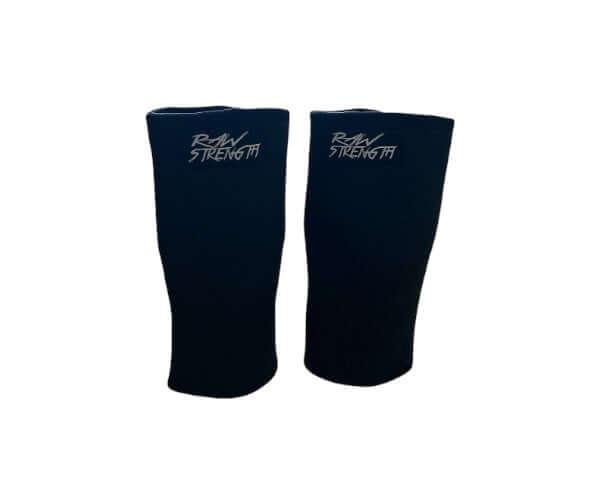
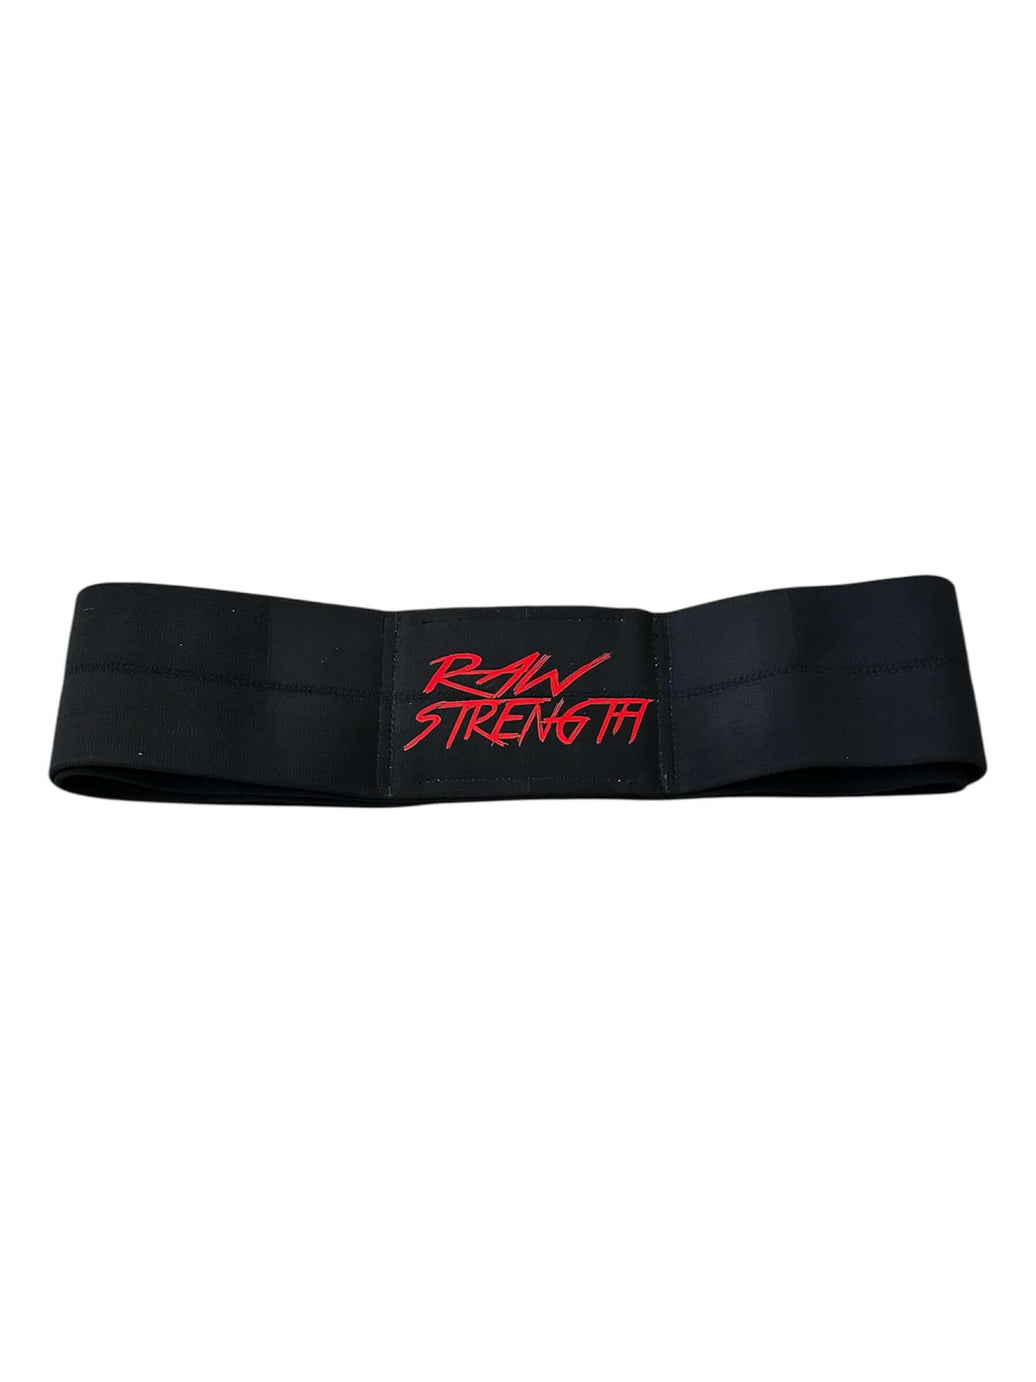
But it’s not just about the numbers on the bar. Quality gear—like knee sleeves, wrist wraps, and lifting straps from Raw Strength Apparel—can make your training safer and more effective, supporting your performance every step of the way. In this guide, you’ll discover exactly how to assess your starting point, choose the right exercises, build a customized schedule, and fine-tune every variable for your unique goals. Step by step, you’ll learn how to execute a plan that delivers results, track your progress, and make adjustments as you grow stronger.
Ready to leave guesswork behind and take charge of your strength journey? Let’s map out a training plan built for real power.
Step 1: Assess Your Starting Strength Level
Before you write a single workout down, you need to know where you stand. A clear snapshot of your current abilities helps you pick the right loads, set realistic targets, and avoid rookie mistakes like chasing numbers that are too heavy. In this step, you’ll learn how to test—or estimate—your one-rep max on the big lifts, categorize your training background, and lock in whether you’re chasing raw strength or explosive power.
Determine Your One-Rep Max for Core Lifts
Knowing your one-rep max (1RM) on squat, bench press, deadlift, overhead press, and pull-up is the foundation of any strength plan. If you have a spotter and feel comfortable, warm up with lighter sets before building to a true max attempt. If you’re solo or uneasy about reaching failure, use an RPE-based or estimation method:
• RPE Method: Choose a weight you can lift for 3–5 reps with about two reps left in the tank (RPE 8). Use an RPE chart or online calculator to estimate your 1RM.
• Rep-to-1RM Formula: Perform a set to failure at a submaximal weight, then plug into the Brzycki formula:
1RM = weight × (1 + reps ÷ 30)
So if you squat 225 lbs for 5 reps:225 × (1 + 5/30) = 225 × 1.1667 ≈ 262 lbs
Record your baseline numbers in a simple table like this:
| Lift | Test Weight | Reps | Estimated 1RM |
|---|---|---|---|
| Back Squat | 225 lbs | 5 | 262 lbs |
| Bench Press | 185 lbs | 3 | 204 lbs |
| Deadlift | 315 lbs | 2 | 336 lbs |
| Overhead Press | 95 lbs | 5 | 112 lbs |
| Pull-Up (weighted) | +25 lbs | 5 | 29 lbs |
Be honest with yourself on form and finish each test with a quick video or notes—this benchmark will guide every percentage and progression down the road.
Evaluate Training Experience and Frequency
How long you’ve been lifting dictates how often and how hard you should train. According to the ACSM guidelines (https://pubmed.ncbi.nlm.nih.gov/19204579/), start here:
• Beginner (< 6 months): 2–3 sessions per week
• Intermediate (6 months–2 years): 3–4 sessions per week
• Advanced (> 2 years): 4–5 sessions per week
Use this quick checklist to self-classify:
- I’m new to barbells and still mastering the squat and hinge. → Beginner
- I’ve trained consistently with a plan for at least half a year. → Intermediate
- I’ve followed structured cycles, hit multiple plateaus, and trained year-round. → Advanced
Once you know your level, block out your training days before anything else—this consistency is what turns effort into real strength.
Identify Your Specific Goals: Strength vs. Power
Strength and power aren’t the same, even if they often share exercises.
- Strength is maximal load—how heavy can you press, squat, or pull once.
- Power is force × velocity—how quickly you can move a given weight.
If your aim is pure strength, prioritize low-rep, high-load sets (1–5 reps at 80–95% 1RM) on core lifts. If you’re after power for sports or explosive performance, work in the 30–60% zone for 3–6 reps, focusing on bar speed (think jump squats, push presses, Olympic-style pulls).
Example goal: “Increase my back squat 1RM by 10% in 12 weeks by cycling through 4-week blocks of 5×5 at 75% → 4×3 at 85% → 3×2 at 90%, ending with a new max test.”
With these assessments in hand, you can plan every detail—loads, frequencies, exercises—to fit your starting strength level and your ultimate goal.
Step 2: Define Training Frequency and Schedule
A smart training plan isn’t just about what you lift—it’s also about when and how often. Setting a clear weekly schedule keeps your workouts consistent and prevents the “too much, too soon” trap that leads to burnout or injury. In this step, you’ll decide how many days to train each week, learn to balance total workload with intensity, and build in the flexibility needed for life’s curveballs.
Select Weekly Training Days Based on Experience
Your time under the bar dictates how often you can safely hit the gym. Following ACSM frequency recommendations (https://pubmed.ncbi.nlm.nih.gov/19204579/) helps you avoid overtraining while making steady progress:
• Beginners (under 6 months): 2–3 full-body sessions per week
• Intermediates (6 months–2 years): 3–4 workouts per week
• Advanced (> 2 years): 4–5 sessions per week, often splitting muscle groups
Sample calendars illustrate how you might organize those days:
• Beginner (3 days):
- Monday: Full-Body A
- Wednesday: Full-Body B
- Friday: Full-Body C
• Intermediate (4 days):
- Monday: Upper Body
- Tuesday: Lower Body
- Thursday: Upper Body
- Friday: Lower Body
• Advanced (5 days, push/pull/legs):
- Monday: Push
- Tuesday: Pull
- Wednesday: Legs
- Thursday: Push
- Friday: Pull
Feel free to print out a simple weekly planner template and block these workout days in your calendar—treat them like important meetings you can’t miss.
Balance Volume and Intensity with Autoregulation
Training volume (sets × reps × load) and intensity (%1RM or RPE) are two sides of the same coin. Locking in percentages can work, but real life often demands on-the-fly adjustments. That’s where autoregulation comes into play:
• Rate of Perceived Exertion (RPE): Rate each set on a 1–10 scale. If your planned RPE 8 set feels like an RPE 9, dial the weight back 5–10%.
• Daily Readiness: Some days you’ll breeze through warm-ups, other days you’ll feel sluggish. An RPE-based system lets you chase progress without risking form.
For an in-depth look at how to build flexible programs around RPE, check out the detailed autoregulation strategies that break down load adjustments, ego-free training days, and week-to-week tweaks.
Allow Flexibility for Life and Recovery
Even the best schedule needs wiggle room. Matching your toughest sessions to days you’re well-rested ensures quality reps, while lower-intensity or accessory days fit better on busy or low-energy days:
• Swap a heavy squat day if work deadlines peak—do a lighter mobility or upper-body session instead.
• When travel disrupts gym access, shift core lifts to bodyweight or band work rather than skipping entirely.
• Listen to your energy levels: if fatigue lingers from a previous session, lean on an RPE 6–7 workout or dedicate that day to active recovery (e.g., foam rolling, yoga, a brisk walk).
By building in flexible windows rather than rigid “must-train” slots, you’ll stay consistent over months—because consistency outpaces any single hard workout when it comes to long-term strength gains.
Step 3: Select Core Compound Exercises
Choosing the right exercises is just as important as setting the right loads and reps. Compound lifts—moves that engage multiple joints and muscle groups at once—offer the most bang for your buck when it comes to building raw strength and power. In this step, you’ll zero in on the foundational lifts that should anchor your program, learn how to order them for maximum effectiveness, and discover simple swaps for when equipment or mobility issues get in the way.
The Big Five Lifts for Maximum Strength
The “Big Five” are the building blocks of any serious strength routine. Each one drives strength through different chains of muscles, helping you lift more overall and carry that power into everyday life.
-
Squat
Primary: quadriceps, glutes, adductors
Secondary: hamstrings, lower back, core -
Bench Press
Primary: pectorals, anterior deltoids, triceps
Secondary: serratus anterior, upper back stabilizers -
Deadlift
Primary: hamstrings, glutes, spinal erectors
Secondary: traps, lats, forearms, core -
Overhead Press
Primary: deltoids, triceps, upper chest
Secondary: traps, upper back, core -
Pull-Up
Primary: latissimus dorsi, biceps, teres major
Secondary: rhomboids, rear deltoids, forearms
Mastering these lifts gives you the broadest stimulus for strength gains. They’ll form the core of your training sessions, with accessory work filling in the gaps.
Exercise Selection and Order Principles
How you sequence your exercises can make or break a workout. Follow these general rules, adapted from ACSM guidelines (https://pubmed.ncbi.nlm.nih.gov/19204579/), to keep your sessions both safe and effective:
- Multi-Joint Before Single-Joint: Start with compound lifts (e.g., squats, deadlifts) when your energy levels and stability are highest, then move to isolation work (e.g., biceps curls, tricep extensions).
- Large Muscle Groups First: Work quads and glutes before calves; chest before triceps; back before biceps.
- High-Skill Before Low-Skill: Tackle technically demanding movements like the clean pull or strict press early, then handle simpler accessory lifts.
A sample full-body session might look like this:
| Order | Exercise | Focus |
|---|---|---|
| 1 | Back Squat | Lower-body compound |
| 2 | Bench Press | Upper-body compound |
| 3 | Barbell Row | Horizontal pull |
| 4 | Overhead Press | Vertical press |
| 5 | Pull-Up or Lat Pulldown | Vertical pull |
| 6 | Leg Extension | Quad isolation |
| 7 | Tricep Pushdown | Arm isolation |
Substitutions and Variations for Equipment or Injuries
Life happens—sometimes the squat rack is taken, or wrist pain flares up. Here are simple stand-in options to keep your progress rolling:
-
Goblet Squat (for Back Squat):
Hold a dumbbell or kettlebell at chest height. Sit your hips back and descend until your thighs pass parallel, keeping your chest tall and elbows inside your knees. Drive through your heels to stand. -
Cable Pushdown (for Dips):
Attach a rope handle to a high pulley. Grip the ends and stand tall. Keeping your elbows at your sides, press the rope down until your arms are straight, then return under control. -
Hip Thrust (for Deadlift):
Rest your upper back on a bench with a loaded barbell over your hips. Drive through your heels, lifting your hips until your body forms a straight line from shoulders to knees. Lower slowly. -
Machine Shoulder Press (for Overhead Press):
Adjust the seat so handles are at shoulder level. Push upward, locking out your elbows, then lower with control.
Use these variations to work around injuries or crowded gyms without sacrificing the core stimulus of your program. As mobility or access improves, you can cycle back to the original compound lifts and continue driving strength gains.
Step 4: Plan Progressive Overload and Periodization
To keep making gains week after week, you need two key strategies: progressive overload (gradually upping the challenge) and periodization (structuring that challenge over time). Without these, your workouts become stale, and your body adapts—leading to those dreaded plateaus. In this step, you’ll learn how to set the right starting loads, pick a method for increasing stimulus, and choose a periodization model that fits your goals.
Establish Initial Loads and Rep Ranges
Before you start chasing new PRs, make sure your baseline loads and rep ranges line up with your experience level:
• Beginners (under 6 months): 8–12-rep maximum (8–12RM) on core lifts.
• Intermediates (6 months–2 years) & advanced (over 2 years): anywhere from 1–12RM, depending on the phase.
As soon as you can hit the top of your rep range with solid form—and you’ve comfortably cleared it for two workouts in a row—you’re due for a load increase. Aim to bump your working weight by 2–10% on your next session. For example, if you bench 185 lbs for 12 reps two weeks in a row, swap to 195 lbs and start back at 8–10 reps.
Progressive Overload Techniques
Progressive overload isn’t just about slapping more plates on the bar. You can change virtually any training variable to force adaptation. Here’s a quick comparison:
| Technique | How It Works | Example | Ideal Use Case |
|---|---|---|---|
| Increase Load | Add weight to the bar or dumbbells | +5 lbs on your squat | When form remains sharp at current weight |
| Add Reps or Sets | Keep the same weight but do more reps or drop-sets | 4×8 → 5×8 | If you can handle volume without burning out |
| Change Tempo | Slow down eccentric (lowering) or pause at sticking points | 4-second lowering on bench press | To build tension, control, or address weaknesses |
| Reduce Rest Intervals | Shorten rest between sets to boost workload | 3 min → 2 min between heavy sets | When conditioning and metabolic stress matter |
| Vary Range of Motion | Introduce paused reps, partials, or extended stretch | 2-second pause at bottom of squat | To break through specific sticking points |
Pick one or two techniques each block so you’re not chasing every variable at once. That way, you’ll know exactly what’s driving your progress.
Introduce Periodization Models
Periodization is simply the plan that sequences your overload strategies. Here are three proven models:
-
Linear Periodization
Steadily increase intensity (load) while decreasing volume (sets × reps) over a block. Ideal for lifters new to structured cycles. -
Undulating Periodization
Rotate rep ranges and loads daily or weekly (e.g., heavy day, moderate day, light day). Great for intermediates who need variation to keep adapting. -
Conjugate Periodization
Blend max-effort days with dynamic-effort (speed) and repetition-effort days, rotating exercises weekly. Popular in powerlifting circles.
For an in-depth conjugate template, check out Grinder Gym’s 12-Week Conjugate Powerlifting Program for Raw Lifters. To give you a taste, here’s a 4-week microcycle for each model:
| Model | Week 1 | Week 2 | Week 3 | Week 4 (Deload) |
|---|---|---|---|---|
| Linear | 4×10 @ 65% 1RM | 4×8 @ 70% 1RM | 4×6 @ 75% 1RM | 3×5 @ 60% 1RM |
| Undulating (Daily) | Heavy (3×3 @ 85%) | Light (3×12 @ 60%) | Moderate (4×6 @ 75%) | Light (3×8 @ 65%) |
| Conjugate (Weekly) | ME Lower / DE Upper | ME Upper / DE Lower | RE Full Body (8–12RM) | Technique Work & Mobility |
- ME = Max Effort, DE = Dynamic Effort, RE = Repetition Effort
- Deload week reduces both volume and intensity, giving your body a chance to recover before the next cycle.
By combining well-chosen rep ranges with deliberate overload techniques and a solid periodization structure, you’ll stay on the fast track to new strength milestones—week in and week out.
Step 5: Structure Your Weekly Workout Plan
With your training days set and exercises chosen, the next step is assembling those pieces into a weekly roadmap. A clear template ensures you hit every lift with the right balance of volume, intensity, and recovery. Below are three proven splits—beginner, intermediate, and advanced—to match your experience level. Feel free to tweak exercise order or swap small‐joint movements based on your personal needs and equipment.
Sample 3-Day Full-Body Split for Beginners
For newcomers, full-body sessions maximize practice on core lifts while keeping frequency manageable. Aim for 2–3 minutes of rest on compound exercises and 1–2 minutes for accessory work. Work in the 65–75% of 1RM range to build both muscle and confidence.
| Day | Exercise | Sets × Reps | Intensity | Rest |
|---|---|---|---|---|
| 1 | Back Squat | 3 × 8 | 65–75% 1RM | 2–3 min |
| Bench Press | 3 × 8 | 65–75% 1RM | 2 min | |
| Barbell Row | 3 × 8 | 65–75% 1RM | 2 min | |
| Plank | 3 × 30 sec holds | Bodyweight | 1 min | |
| 2 | Deadlift | 3 × 5 | 70–80% 1RM | 3 min |
| Overhead Press | 3 × 8 | 65–75% 1RM | 2 min | |
| Pull-Up | 3 × 6 | Bodyweight or assisted | 2 min | |
| Side Plank | 3 × 30 sec each | Bodyweight | 1 min | |
| 3 | Front Squat | 3 × 8 | 60–70% 1RM | 2–3 min |
| Dumbbell Bench Press | 3 × 8 | Moderate weight | 2 min | |
| Dumbbell Row | 3 × 8 | Moderate weight | 2 min | |
| Hanging Leg Raise | 3 × 10 | Bodyweight | 1 min |
Sample 4-Day Upper/Lower Split for Intermediates
Intermediates can increase frequency and split sessions by movement pattern. This 4-day plan lets you hit upper and lower body twice weekly, with heavier loads (75–85% 1RM) on main lifts and moderate accessory volume.
Upper A (Mon)
- Bench Press: 4×6 @75–85% 1RM (2–3 min rest)
- Barbell Row: 4×6 @75–85% 1RM (2–3 min)
- Overhead Press: 3×8 @65–75% 1RM (2 min)
- Pull-Up: 3×8 (2 min)
- Tricep Pushdown: 3×10 (1–1.5 min)
- Biceps Curl: 3×10 (1–1.5 min)
Lower A (Tue)
- Back Squat: 4×6 @75–85% 1RM (2–3 min)
- Romanian Deadlift: 3×6 @65–75% 1RM (2–3 min)
- Leg Press: 3×10 (2 min)
- Leg Curl: 3×10 (1–1.5 min)
- Seated Calf Raise: 4×12 (1–1.5 min)
Upper B (Thu)
- Incline Bench Press: 3×8 @70–80% 1RM (2 min)
- Pendlay Row: 3×8 @70–80% 1RM (2 min)
- Dumbbell Shoulder Press: 3×10 (1.5–2 min)
- Lat Pulldown: 3×10 (1.5 min)
- Face Pull: 3×12 (1 min)
- Hammer Curl: 3×12 (1 min)
Lower B (Fri)
- Deadlift: 4×5 @75–85% 1RM (2–3 min)
- Front Squat: 3×8 @70–75% 1RM (2 min)
- Bulgarian Split Squat: 3×8 per leg (2 min)
- Standing Calf Raise: 4×10 (1–1.5 min)
- Ab Wheel Rollout: 3×12 (1 min)
Sample 5-6 Day Push/Pull/Legs Split for Advanced
Advanced lifters benefit from hitting each movement pattern twice, with dedicated push, pull, and leg days. Rotate heavy (80–85% 1RM) and dynamic (60% 1RM focusing on speed) sessions for maximum strength and power development.
| Day | Focus | Main Lifts and Reps |
|---|---|---|
| Mon | Heavy Push | Bench Press 5×5 @80–85%, Overhead Press 4×6, Dips 3×8, Tricep Extension 3×10 |
| Tue | Heavy Pull | Deadlift 5×5 @80–85%, Barbell Row 4×6, Pull-Up 3×8, Face Pull 3×12 |
| Wed | Heavy Legs | Back Squat 5×5 @80–85%, Romanian Deadlift 4×6, Leg Press 3×10, Calf Raise 4×12 |
| Thu | Speed Push | Bench Press 8×3 @60% 1RM, Plyo Push-Up 3×5, Lateral Raises 3×12 |
| Fri | Speed Pull | Deadlift 8×2 @60% 1RM, Power Clean 5×3, Cable Row 3×10 |
| Sat | Speed Legs | Box Jump 5×3, Front Squat 3×6 @65–70% 1RM, Walking Lunge 3×8 per leg |
| Sun | Rest | — |
Adjust Rest Periods by Exercise Type
Rest intervals directly influence recovery and performance. As a rule of thumb:
- Core compound lifts (squat, deadlift, bench, press): 2–3 minutes between sets to replenish strength.
- Accessory and isolation work (curls, extensions, raises): 1–2 minutes to maintain workout density without sacrificing form.
Tuning rest periods ensures you have enough energy for heavy lifts while keeping session length practical. Track these intervals in your workout log and adjust if you find yourself grinding through sets or cooling off too much between reps.
Step 6: Create Detailed Workout Templates
Once you’ve settled on exercises, splits, and periodization, it’s time to turn theory into action. These ready-to-use templates provide a roadmap for every experience level—complete with warm-up and cool-down protocols, rep and load targets, and progressive charts to keep you on track.
Beginner Template: Foundational Strength Workouts
Warm-Up (10 minutes)
- 5 minutes of light cardio (rower, bike, or jog)
- Dynamic mobility: leg swings, arm circles, 10 bodyweight squats, 5 inchworms
Session Structure (3× per week, full-body)
| Exercise | Sets | Reps | Intensity | Rest |
|---|---|---|---|---|
| Back Squat | 3 | 8–10 | 65–70% 1RM | 2–3 min |
| Bench Press | 3 | 8–10 | 65–70% 1RM | 2 min |
| Bent-Over Row | 3 | 8–10 | 65–70% 1RM | 2 min |
| Overhead Press | 2 | 8–10 | 60–65% 1RM | 1.5 min |
| Plank | 3 | 30–45 sec | Bodyweight | 1 min |
Cool-Down (5–10 minutes)
- Static stretches: hamstring, quad, chest, lat, hip flexor (30 sec each)
- Self-myofascial release: foam roll quads and upper back
Intermediate Template: Increased Complexity and Volume
Build on your foundation by adding accessory movements and simple supersets. Follow this 4-week progression, training 4× per week (upper/lower split).
Warm-Up (10 minutes)
- 3 minutes of rowing
- Mobility drills: hip circles, PVC pass-throughs, band pull-aparts
Weeks 1–3 Progression Chart
| Week | Main Lift Load | Main Lift Sets×Reps | Accessory Supersets |
|---|---|---|---|
| 1 | 70% 1RM | 4×6 | 2× (12× face-pull + 12× curl) |
| 2 | 75% 1RM | 4×5 | 2× (10× tricep pushdown + 10× lateral raise) |
| 3 | 80% 1RM | 4×4 | 2× (8× Bulgarian split squat + 8× hip thrust) |
| 4 | Deload: 60% 1RM | 3×8 | 1× (light full-body circuit) |
Sample Upper Body A (Mon/Thu)
- Bench Press: per chart
- Barbell Row: per chart
- Superset: Cable Fly 3×12 / Rear Delt Fly 3×12
- Superset: EZ-Bar Curl 3×10 / Rope Tricep Extension 3×10
Sample Lower Body B (Tue/Fri)
- Deadlift: per chart
- Front Squat: per chart
- Superset: Leg Extension 3×12 / Leg Curl 3×12
- Glute Bridge: 3×10
Cool-Down (5 minutes)
- Pigeon stretch, pec wall stretch, calf stretch (30 sec each)
Advanced Template: Specialized Circuits and Intensity Techniques
For seasoned lifters, this template injects supersets, drop sets, paused reps, and dynamic effort work into a 6-day Push/Pull/Legs cycle.
Sample Push Day (Heavy + Drop Set Focus)
Warm-Up (8 minutes):
- Jump rope, banded shoulder prep, 2×5 bodyweight dips
-
Bench Press
- Set 1–3: 5×3 @ 85% 1RM, rest 3 min
- Set 4: 1×AMAP (as many reps as possible), immediately drop 20% load, do 8 controlled reps
-
Seated Dumbbell Shoulder Press
- 4×6 @ 75% 1RM, rest 2 min
-
Superset (3 rounds)
- Paused Push-Up (2-sec pause bottom) ×12
- Cable Lateral Raise ×15
-
Tricep Dip (weighted or bodyweight)
- 3×AMAP, rest 90 sec
Sample Pull Day (Speed + Paused Reps)
Warm-Up (8 minutes):
- Band pull-aparts, face pulls, 2×5 scap-pull hung dead hang
-
Speed Deadlift
- 8×2 @ 60% 1RM, focus on explosive drive, rest 60 sec
-
Paused Barbell Row
- 4×5 @ 75% 1RM, 2-sec pause at mid-pull, rest 2 min
-
Superset (4 rounds)
- Chin-Up ×AMAP
- Hammer Curl ×12
-
Face Pull
- Drop-set: 12 + 8 + 6 reps, rest 60 sec between drops
Sample Legs Day (Circuit + Dynamic Effort)
Warm-Up (8 minutes):
- Air squats, lunges, glute bridges
Circuit (4 rounds, 45 sec work/15 sec rest between exercises):
- Pause Back Squat (2-sec bottom)
- Box Jump
- Romanian Deadlift (moderate load)
- Walking Lunge
- Calf Raise (on elevated block)
Rest 2 min between rounds.
Cool-Down (10 minutes):
- Foam roll quads, hamstrings, glutes
- Static stretches: hip flexor, adductor, pec
These templates give you a concrete starting point—no guesswork required. Track your lifts, follow the progression charts, and adjust intensity or rest according to your daily RPE. With each cycle, you’ll sharpen your strength, build power, and hone the precision needed to keep breaking barriers.
Step 7: Track Progress and Adjust Your Plan
No plan survives contact with the bar indefinitely—your body adapts, and gains will eventually slow. That’s why consistent tracking and intelligent adjustments are non‐negotiable. By logging every lift, recognizing early signs of stagnation, and scheduling strategic recovery phases, you’ll stay on an upward trajectory instead of spinning your wheels.
Logging Workouts and Performance Metrics
A simple log is your most powerful tool. Whether you use a dedicated app (Strong, TrainHeroic) or a paper journal, capture these key details for each session:
| Date | Exercise | Sets × Reps | Load | RPE | Notes |
|---|---|---|---|---|---|
| 2025-06-01 | Back Squat | 3×8 | 225 lbs | 7.5 | “Felt explosive off rack” |
| 2025-06-03 | Bench Press | 3×8 | 185 lbs | 8 | “Struggled on last rep” |
Be sure to include:
- Date & Session: Know exactly when and what you did.
- Volume & Load: Sets, reps, and weight.
- RPE (Rate of Perceived Exertion): A 1–10 scale helps you judge daily readiness.
- Notes: Anything from grip issues to recovery status or equipment used.
Over weeks, this data drives your percentage‐based programming and flags days when you should dial intensity up—or down.
Identifying Plateaus and Tweaking Variables
A plateau shows up when your numbers stall for 2–3 consecutive workouts. When that happens, run through a quick troubleshooting sequence:
-
Technique Check
• Review your form via video or have a training partner confirm your setup. -
Load vs. Volume
• If you routinely miss reps at a given weight, reduce load by 5–10% and focus on clean reps.
• If the weight feels light but you can’t add plates, bump up volume (add a set or 2–3 reps). -
Tempo & Rest
• Slow your eccentric (lowering) phase by 2–4 seconds to build tension.
• Shorten rest slightly (e.g., 3→2.5 minutes on core lifts) to increase metabolic stress. -
Exercise Variation
• Swap a lift for a close variant for 2–4 weeks (e.g., pause squat for back squat) to address weak links.
By isolating—and adjusting—one variable at a time, you’ll know exactly what jumpstarts new growth.
Plan Deload Weeks and Recovery Phases
Regularly scheduled deloads are critical for long‐term progress. A deload week every 4–8 weeks gives your central nervous system and joints time to recharge. During a deload:
- Reduce Load: Drop your working weights to 50–60% of normal.
- Cut Volume: Perform 50–60% of your usual sets.
- Maintain Movement: Keep the same exercise selection, but focus on perfect form and mobility drills.
Sample Deload Week Template:
| Day | Exercise | Sets × Reps | Load | Notes |
|---|---|---|---|---|
| Monday | Back Squat | 2×8 | 50% 1RM | Controlled tempo |
| Tuesday | Bench Press | 2×8 | 50% 1RM | Emphasize smooth bar path |
| Wednesday | Active Recovery | — | — | Foam rolling, light cardio |
| Thursday | Deadlift | 2×6 | 50% 1RM | Focus on hip hinge |
| Friday | Overhead Press | 2×8 | 50% 1RM | Slow eccentrics |
| Weekend | Rest or Mobility | — | — | Yoga, stretching, massage |
Use your deload week to reassess goals and refine your next block’s plan. When you return to full intensity, you’ll be sharper, fresher, and ready to push your numbers higher than before.
Step 8: Optimize Nutrition for Strength Gains
Training sets the stimulus; nutrition delivers the building blocks. To turn iron-pounding sessions into real strength gains, dial in your macronutrients, stay hydrated, and don’t overlook key vitamins and minerals. Here’s how to fuel every rep and recovery phase.
Protein Intake and Quality Sources
Your muscles need amino acids to repair and grow. The USDA recommends about 5½ ounce-equivalents of protein per day on a 2,000-calorie diet (USDA dietary patterns). For strength athletes, target 1–1.5 grams of protein per pound of bodyweight daily. Focus on complete, lean sources:
- Poultry: chicken breast, turkey
- Fish: salmon, tuna, cod
- Lean beef: sirloin, round
- Dairy: Greek yogurt, cottage cheese, milk
- Eggs: whole eggs or egg whites
- Plant options: lentils, chickpeas, edamame, tofu
Aim to distribute protein evenly across 4–6 meals or snacks, so your body always has a supply of nutrients ready for repair.
Carbohydrates and Fats for Fuel and Recovery
Strength work burns glycogen and stresses the nervous system. You need carbs to refill energy stores and fats for hormone balance:
- Fats: 0.5 grams per pound of bodyweight from sources like olive oil, avocado, nuts, and fatty fish.
- Carbs: fill the rest of your calories with complex carbs—oats, brown rice, sweet potatoes, fruit, and whole grains.
A practical macro split might look like:
Protein: 1–1.5 g per lb bodyweight
Fats:    0.5 g per lb bodyweight
Carbs:   remaining calories
Sample meal timing:
- Pre-workout (60–90 min before): oatmeal with banana and a scoop of whey protein
- Post-workout (within 30 min): a chicken-rice-veggie bowl or a smoothie with milk, berries, and Greek yogurt
Hydration and Micronutrients
Water supports every metabolic pathway and nutrient transport. Aim for at least 0.5–1 ounce of water per pound of bodyweight daily—more on heavy sweat days. Don’t forget micronutrients that play starring roles in strength:
- Vitamin D & calcium for bone health
- Magnesium for muscle relaxation and sleep quality
- Zinc for immune support and testosterone production
- B-vitamin complex for energy metabolism
A colorful plate packed with fruits, vegetables, lean meats, and whole grains usually covers these bases. If you suspect gaps, a multivitamin or targeted supplement—alongside plenty of water—ensures nothing limits your next PR.
Step 9: Prioritize Recovery and Injury Prevention
Even the best training plan falls flat if you’re always sore, beat up, or sidelined by minor injuries. Recovery and injury prevention aren’t optional add-ons—they’re fundamental to staying in the gym consistently and making progress without interruptions. This step shows you how to build solid rest habits, keep your joints healthy, and fine-tune your form so you can lift hard and smart, session after session.
Sleep and Rest Guidelines
Your muscles do most of their rebuilding while you’re asleep. Aim for 7–9 hours of quality shut-eye each night and consider a 20–30 minute nap on your hardest training days. To optimize sleep hygiene:
- Maintain a consistent bedtime and wake-up time—even on weekends.
- Create a wind-down routine: read, journal, or do gentle stretching.
- Dim lights and power down screens at least an hour before bed to boost melatonin release.
- Keep your room cool (around 65°F) and dark; blackout curtains or a sleep mask help block distractions.
Treat sleep like an extra training session—waking up rested will improve focus, energy, and lifting performance.
Mobility, Warm-Up, and Cool-Down Routines
A targeted warm-up primes muscles and joints for heavy lifts, while post-workout mobility work helps you bounce back faster. Try this template:
Dynamic Warm-Up (5–7 minutes)
- Leg swings (10 per leg)
- Hip circles (10 each direction)
- Band pull-aparts (15 reps)
- Inchworms to push-up (6–8 reps)
- Bodyweight lunges with torso twist (8 per side)
Static Stretch + Foam Roll (5–10 minutes)
- Hold each stretch for 30 seconds: hamstring, quad, hip flexor, chest opener, lat stretch.
- Foam-roll key areas (quads, IT bands, glutes, upper back) for 1–2 minutes each, focusing on tight spots.
Consistently warming up and cooling down improves flexibility, reduces delayed-onset muscle soreness, and helps you maintain proper technique under the bar.
Accessory Work and Form Correction
Even experienced lifters have weaknesses—maybe your glutes don’t engage, or your shoulders round under load. Targeted accessory drills and form-fix exercises plug those gaps. For a full library of fault-fixer videos, check out WODprep’s Raw Strength Training Program. A few go-to drills:
- Glute Bridges: Lie on your back with feet hip-width apart. Drive through your heels to lift hips, squeezing glutes at the top. (3×12–15)
- Band Pull-Apart: Hold a resistance band at chest height. Pull apart until your hands align with shoulders, retracting your scapula. (3×15–20)
- Face Pulls: On a cable or band, pull toward your face with elbows high, engaging rear delts and upper back. (3×12–15)
- Thoracic Extensions: Lay over a foam roller at your mid-back. Arch backwards to improve thoracic mobility. (2×10)
Spend 10–15 minutes per session on corrective work—either before your main lifts or as a finisher. Over time, you’ll shore up weak links, lock in better positions, and keep injuries at bay while chasing those new PRs.
Step 10: Advanced Tips and Programming Variations
Once you’ve mastered the basics, these advanced tweaks help you squeeze every ounce of performance out of your training. From alternating heavy days with speed sessions to fine-tuning effort on the fly, these strategies keep your body—and mind—responding to new challenges.
Incorporate Conjugate and Dynamic Effort Methods
In a conjugate setup, you rotate between max effort and dynamic effort days for the same lift.
- Max Effort (ME): Work up to a near-max single or triple on a variation of your main lift (e.g., box squat, floor press). This hones absolute strength and tests your nervous system.
- Dynamic Effort (DE): Use lighter loads (30–60% 1RM) for 6–12 sets of 1–3 reps, moving the bar as quickly as possible. This builds explosive power without crushing your recovery.
Sample DE drill for explosive squat power:
-
Box Squat Touch & Go
• Load the bar to ~50% of your back squat 1RM.
• Set up a 12-16″ box behind you.
• Perform 8×2 reps, focusing on accelerating off the box and barely brushing it before ascending.
• Rest 45–60 seconds between sets.
Over time, you’ll notice bar speed climbing and heavy days feeling more manageable.
Utilize Autoregulated Training with RPE
Rigid percentages can leave you spinning your wheels on days when fatigue or stress alter your performance. Autoregulation with Rate of Perceived Exertion (RPE) lets you dial load up or down in real time:
- Assign RPE Goals: Plan sets at RPE 7–9 based on your daily energy.
- Assess Warm-Ups: Gauge readiness by how your warm-up sets feel. If a planned 70% attempt feels like an RPE 9, back off 5–10% rather than forcing the weight.
- Chase Consistency, Not Ego: Hit your rep target at the prescribed RPE—then stop. Over-pushing one day can derail several more.
For an in-depth framework on building autoregulated programs, see the detailed guide at RippedBody.com.
Add Speed and Power Work for Athletic Development
If you’re training for sports or just want to move like an athlete, injecting contrast and plyometric elements is key. Contrast training pairs heavy lifts with explosive movements, teaching your body to switch gears from force to speed in a single session.
Two sample power drills:
-
Weighted Box Jump
• Hold light dumbbells (10–20% bodyweight).
• Stand 2–3 feet in front of a 24–30″ box.
• Perform 3–5 reps focused solely on maximal jump height.
• Rest 60–90 seconds between sets. -
Medicine Ball Slam
• Use a 10–20 lb medicine ball.
• From a quarter squat, explode upward, slamming the ball overhead to the ground.
• Pick it up on the bounce and repeat for 8–10 reps.
• Rest 45–60 seconds between sets.
Contrast heavy squats or presses with these drills to spark your fast-twitch fibers and build true athletic power.
By weaving together conjugate rotations, real-time RPE adjustments, and targeted power drills, you’ll keep your body off balance and your gains on the rise. Ready to bring your training to the next level? Gear up with performance-driven wraps, sleeves, and straps at Raw Strength Apparel and lift harder, move faster, and break more records.
Moving Forward with Your Strength Journey
You’ve now walked through every step of building a strength training workout plan: measuring your one-rep max and setting clear goals, mapping out weekly frequency, choosing the big compound lifts, applying progressive overload with smart periodization, and dialing in nutrition and recovery. Each piece of the puzzle—from your first 8-rep set to that well-timed deload week—works in concert to turn effort into measurable progress.
The next move is simple: pick the template that matches your experience level—whether it’s the 3-day full-body split, the 4-day upper/lower plan, or the push/pull/legs cycle—and commit to consistent execution. Track every workout, adjust as you learn what pushes you hardest (and what you need more rest from), and celebrate the incremental gains—those small jumps in load or reps add up to big strength milestones over time.
Ready to seize your powerlifting potential? Visit Raw Strength Apparel for performance-focused gear—wrapping your wrists, supporting your knees, and giving you the confidence to chase heavier lifts. Lace up, lock in, and let your next training block begin.